A scone that has never been baked twice is a different food from one that has been warmed over. Anyone who has wrapped a leftover scone in foil and put it back in the oven knows the disappointment: the outside goes leathery before the middle warms through, and the crumb turns dense and dry. Freezing unbaked dough sidesteps the whole problem. The scones go into the oven as raw, cold, butter-flecked wedges, they rise there for the first time, and they come out tasting like you mixed them at seven in the morning.
The method itself is not complicated. Once your dough is made, it takes about ten minutes of hands-on work to shape, freeze, and package a batch. What follows is the version that has held up best: how to freeze so the scones keep their lift, how to bake them from frozen without guessing, and which flavors and add-ins survive the freezer without turning to mush.
Why Freezing Unbaked Beats Baking Ahead
Chemical leaveners start working the moment they hit liquid, and they lose power as the dough sits. Freezing effectively hits pause: the baking powder or soda goes dormant, the butter stays in cold, distinct pieces, and the gluten that developed during mixing doesn't have time to relax into toughness. When you bake from frozen, the butter melts in the oven and creates steam pockets that push the layers apart. That is the flakiness you're after, and it simply doesn't happen the same way with a thawed or reheated scone.
There's a practical benefit too. You bake four scones when you want four scones, not a dozen that go stale by Tuesday. A quiet Tuesday morning, a last-minute guest, a school run that needs a warm thing in a napkin: all of it is covered by one bag in the freezer.
Set Yourself Up Before the Dough Hits the Bench
Scone dough is best handled cold and fast, and that goes double when you're prepping for the freezer. Have everything within arm's reach so the dough never sits out while you hunt for a marker.
- A rimmed sheet pan lined with parchment, sized so the scones sit without touching.
- A bench scraper or thin spatula for lifting the cut scones without stretching them.
- A 2-inch round cutter or a sharp knife for rounds or wedges. Press straight down; don't twist.
- Freezer bags or a roll of plastic wrap, plus tape and a marker for labeling.
- Cold liquid: heavy cream, buttermilk, or milk with a spoonful of yogurt stirred in. Cold ingredients keep the butter from warming.
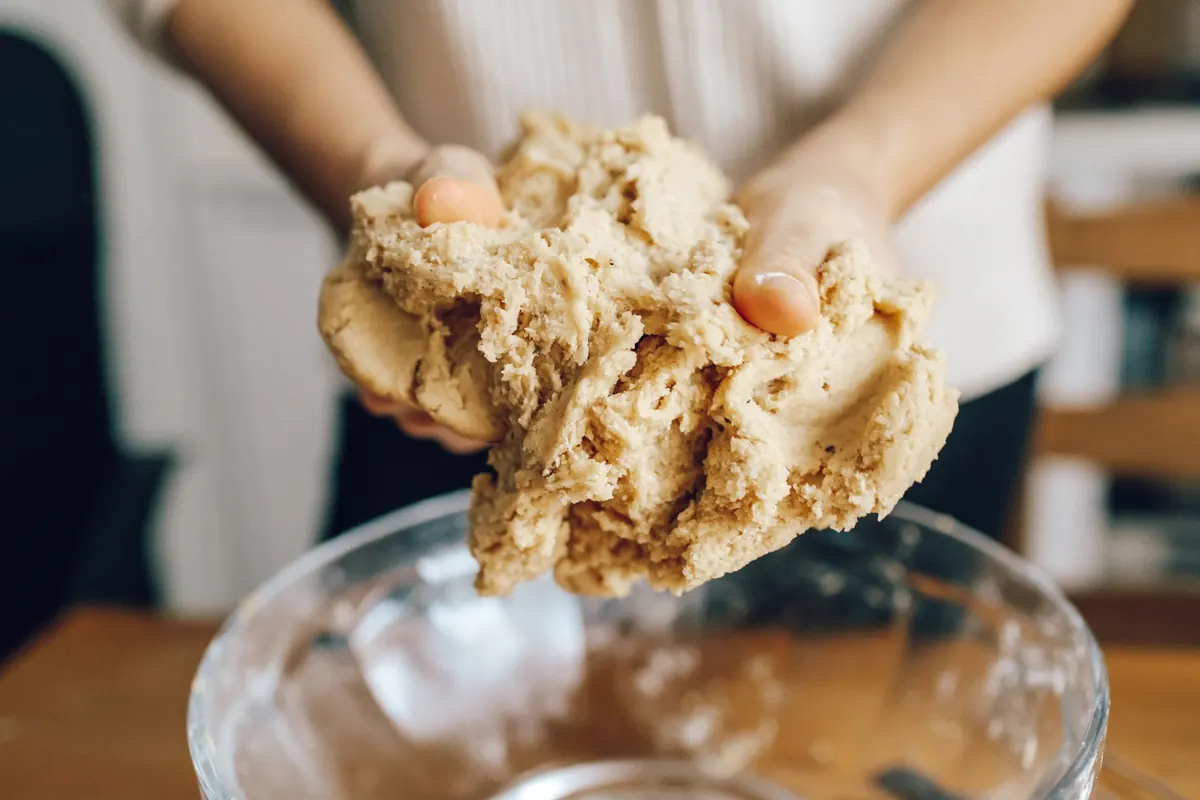
Mix until the dough is shaggy and just holds together, then stop. If you're working with grated frozen butter, the dough will look ragged longer than you expect, and that's fine. Pat it into a rough rectangle about an inch thick, fold it in thirds once or twice if you want extra layers, and press it back to an inch. Then get it cold.
The Ten Minutes: Shape, Freeze, Bag
Shape and cut
Cut rounds or wedges and place them on the lined pan with an inch of space between them. Work quickly, and if the dough starts to soften and spread under your hands, slide the pan into the freezer for ten minutes and pick up where you left off. Warm dough spreads in the oven; cold dough climbs.
Open-freeze first
This is the step people skip and then regret. Put the whole pan in the freezer, uncovered, for one to two hours, until the scones are firm enough to pick up without denting. Open-freezing keeps them from fusing into a single lump in the bag, so you can pull out two and leave the rest.
Wrap and label
Transfer the frozen scones to a freezer bag, press out as much air as you can, seal, and write the date and flavor on the outside. If you're stacking them, slip a piece of parchment between layers. For longer storage, wrap the bag in a second layer or use a rigid container. Plan on using them within about two to three months for the best flavor and rise; beyond that they're safe but the baking powder weakens and the edges pick up freezer odors.
Baking From Frozen: The Numbers That Matter
Do not thaw. Thawing defeats the purpose: the butter softens, the dough slackens, and the scones spread into flat biscuits. Straight from the freezer to a preheated oven works every time.
- Heat the oven to 375°F (190°C), with a rack in the middle. Line a sheet pan with parchment.
- Arrange the frozen scones an inch or two apart. Brushing them with cream or milk is optional and a little awkward on a frozen surface, but a light coat still helps browning. A sprinkle of coarse sugar sticks surprisingly well.
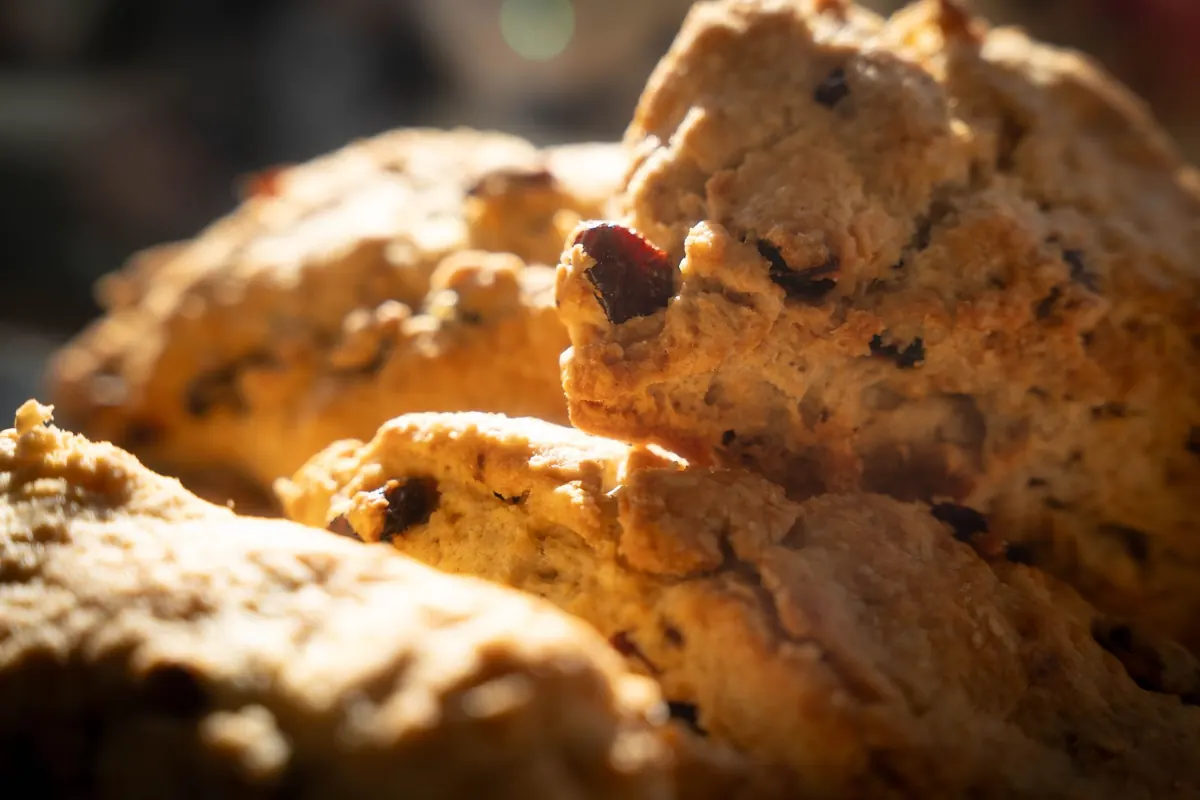
- Bake for 22 to 30 minutes for standard 2-inch scones, depending on size and how cold your freezer runs. Frozen scones typically need five to eight more minutes than the same dough baked fresh.
- Look for risen, golden tops and firm, dry-looking sides. If you keep an instant-read thermometer handy, the center should read around 200°F (93°C).
- Cool on the pan for five minutes, then move to a rack. Serve warm, ideally within the hour.
Mini scones come out in 15 to 20 minutes; jumbo ones can take 32 to 35. When in doubt, add three minutes rather than pulling them early. An underbaked center is the one thing the freezer method can't rescue.
What Freezes Well and What Doesn't
Most flavorings are fine. The troublemakers are the wet ones.
- Good: frozen berries added straight from the freezer, chocolate chunks or chips, citrus zest, chopped nuts, cinnamon and cardamom, dried cranberries or cherries, sharp cheddar with chives, crumbled bacon, cooked and drained spinach.
- Tricky: fresh juicy peaches or pears, which release water and can leave gummy pockets; cook them down first or use dried fruit instead.
- Save for after baking: glazes, icings, and lemon curd. Sugar glaze cracks and weeps in the freezer. Bake plain, cool briefly, then drizzle.
Troubleshooting the Frozen Batch
They spread out flat. The dough was too warm before freezing, or the butter was cut in too finely. Grate frozen butter, keep the liquid cold, and chill the shaped dough before the open-freeze.
The bottoms are soggy. Either the scones went in crowded, or the pan was still warm from a previous batch. Give them room and use a cool pan.
They taste dry. Too long in the oven, or a low-fat liquid. Heavy cream or full-fat buttermilk gives a tender crumb that survives freezing far better than skim milk.
They're pale after 30 minutes. Your oven runs cool. Check with an oven thermometer and consider bumping to 400°F (205°C), watching closely after 20 minutes.
Freezer burn on the edges. Air got in. Double-bag, press out the air, and use them sooner.
Make It a Weekend Habit
The rhythm that works best is simple: make a double batch on a day you already have flour on the counter, bake half, and freeze the rest. Label the bag with the date and the flavor, and keep it where you can see it rather than buried under a bag of peas. Then Saturday morning becomes twenty minutes of waiting rather than an hour of mixing, and the scones that come out of the oven are the ones you actually want: hot, layered, and smelling like butter.
Start with one batch and one bag. If you find yourself reaching for it on a Wednesday, you've found the point of the whole exercise.
Photo: Simon / Pixabay