Gluten-free scones have a reputation problem. They come out dense, gummy in the middle, or so crumbly they shatter under a butter knife. The fix is rarely a single magic ingredient. It is three adjustments — flour blend, liquid, and time — working together, then repeated once or twice until your flour and your oven agree with each other.
Why Gluten-Free Scones Behave Differently
With wheat, gluten forms a stretchy web that traps steam and holds a scone's shape as it bakes. Take that away and structure has to come from somewhere else: gelatinized starch, egg proteins, and a binder such as xanthan gum or psyllium husk. That changes the rules in three specific ways.
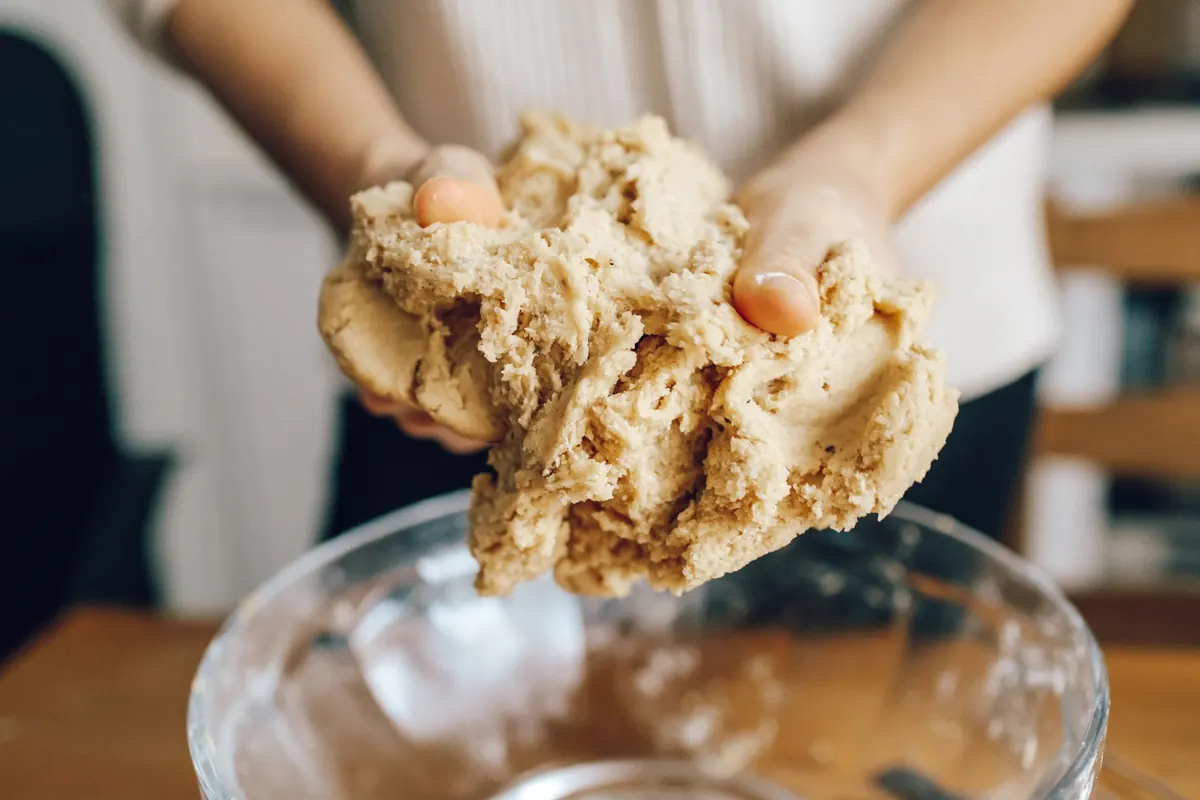
Starches need water and heat to set into a crumb. Binders need water and time to hydrate and stop being gritty. And because nothing is holding the dough together elastically, the whole thing is more fragile — it tears instead of stretches, and it slumps if it is too warm or too wet. A gluten-free scone dough should look a little wetter and feel a little stickier than a wheat dough at the same stage. That is not a mistake. It is the recipe working.
Choose a Flour Blend That Suits Scones
All-purpose gluten-free blends vary enormously. Some are mostly starch, some are mostly whole grain, and a few are loaded with bean flour. Read the ingredient list before you bake. Look at the rough split between whole-grain flours — brown rice, sorghum, millet, oat, teff, buckwheat — and starches such as tapioca, cornstarch, and potato starch.
For scones, a blend in the range of 60 to 70 percent whole grain to 30 to 40 percent starch tends to work well. Push the starch higher and you get a tender scone that spreads and goes gummy. Push the whole grain higher and you get a dense, dry, slightly gritty scone that drinks up every drop of liquid you give it. Bean flours are best used sparingly or not at all here; they taste beany and weigh the crumb down.
Binders: Xanthan Gum and Psyllium
If your blend does not already contain a gum, add one. Xanthan gum at about half a teaspoon per cup of flour blend is a reasonable starting point. Psyllium husk powder, one to two teaspoons per cup, gives a chewier, more wheat-like texture, holds moisture better, and browns more readily — but it needs water and a rest to do its job. Do not stack binders on top of a blend that already lists them; doubling up produces a rubbery scone.
- A whole-grain flour listed first, starch second or third
- Starch making up roughly a third of the blend, not half
- Little to no bean flour
- A binder already included, or one you add yourself
Hydration: The Adjustment That Matters Most
Gluten-free flours absorb more water than wheat flour, but how much depends on the grain, how finely it is milled, how long the bag has been open, and how humid your kitchen is. Treat the liquid amount in any recipe as a starting point rather than a rule.
Mix in about ninety percent of the liquid first, then add the rest a tablespoon at a time. Aim for a dough that is tacky, holds together when you squeeze a handful, and cleans the bowl in soft clumps rather than a smooth ball. If it looks dry and shaggy after a minute of mixing, add more liquid — dry gluten-free dough bakes up pale and crumbly because the starches never had enough water to gelatinize. If it is a sticky puddle, work in a tablespoon or two of your blend, but stop there; too much added flour makes a dry, tough scone.
The liquid itself matters too. Buttermilk brings tang and reacts with baking soda for lift. Heavy cream gives a finer, richer crumb. Yogurt sits between the two. Eggs contribute structure and moisture, so do not cut them without a plan — if you want a richer scone, add an extra yolk rather than more liquid.
Resting and Chilling: The Step Most People Skip
Gluten-free flours hydrate slowly. Rice flour in particular tastes gritty if the dough goes straight from bowl to oven, and gums stay slimy until they have had time to swell. Cover the mixed dough or the shaped scones and refrigerate for twenty to thirty minutes. That rest lets the starches absorb water, hydrates the binder, and firms the butter back up. Overnight works too, though stiff dough benefits from a few minutes at room temperature before shaping.
From there:
- Pat the dough into a round about one inch thick on parchment. Pat, do not knead.
- Cut straight down with a sharp knife or bench scraper instead of dragging a cutter through.
- Freeze the shaped scones for fifteen minutes before baking. They hold their shape and rise noticeably better.
- Brush with beaten egg or cream for browning.
- Bake until the edges are deeply golden and the tops feel firm. Gluten-free scones often need a few extra minutes beyond what a wheat recipe suggests.
Then leave them alone for ten to fifteen minutes. Gluten-free scones are genuinely fragile while hot and firm up considerably as they cool.
A Short Troubleshooting Guide
- Crumbly and falling apart: not enough liquid or binder. Add a tablespoon or two of liquid next time, or a quarter teaspoon more xanthan per cup.
- Gummy center: too much starch or liquid, an underbaked middle, or no rest. Rest the dough and extend the bake.
- Spreading flat: warm butter, too much liquid, or a starch-heavy blend. Chill the dough and rein in the liquid.
- Gritty texture: a coarse rice flour blend. Rest longer, or look for superfine rice flour.
- Pale and bland: add psyllium for browning, brush with egg wash, and do not skimp on salt — a pinch of sugar helps savory scones brown too.
Keeping Notes, Adjusting One Thing at a Time
Write on the recipe what you changed and what happened. Scone dough is forgiving enough that a single tweak per bake will get you to a repeatable result within three or four tries. Shaped, unbaked scones freeze beautifully: freeze them solid on a tray, bag them, and bake from frozen, adding a few minutes to the timer.
If you are baking gluten-free for celiac disease or another medical reason, confirm that your flours, oats, and add-ins are certified gluten-free and that your bowls, tools, and work surface are free of cross-contact. For anything diet-related, your doctor or a registered dietitian is the right person to ask, not a scone recipe.
Photo: ROMAN ODINTSOV / Pexels