A good scone is a study in contradictions. It should be craggy and crisp outside, tender and faintly moist within, rich enough to eat plain but sturdy enough to carry a smear of jam. When they go wrong, they don't go slightly wrong. They turn into hockey pucks, dry sawdust, or a flat biscuit that spread into a puddle on the tray.
The good news: scones fail for a small handful of reasons, and nearly all of them are fixable on the next batch. Below are the mistakes behind dry, flat, and crumbly scones, plus what to change the next time you preheat the oven.
Your Butter Is Too Warm, or Too Fine
Scone dough is essentially a short crust with leavening. Butter does two jobs: it tenderizes, and it lifts. Cold pockets of butter hit the hot oven, melt, release steam, and push the layers apart. Warm butter smears into the flour before baking, coating everything, and you lose that lift.
Rubbing the butter in until it looks like sand causes the same problem. Use butter straight from the fridge, or fifteen minutes in the freezer, then break it down by one of these methods:
- Rub cubes between your fingertips, lifting and dropping the mixture, until the pieces are pea- to hazelnut-sized.
- Grate frozen butter on a box grater and toss it through the flour.
- Pulse briefly in a food processor, then finish by hand so you don't over-blend.
Stop while you can still see flat flecks of butter. If your kitchen runs warm, chill the bowl and flour first, and if the dough starts feeling greasy, park it in the freezer for ten minutes before shaping.
You're Kneading Instead of Gathering
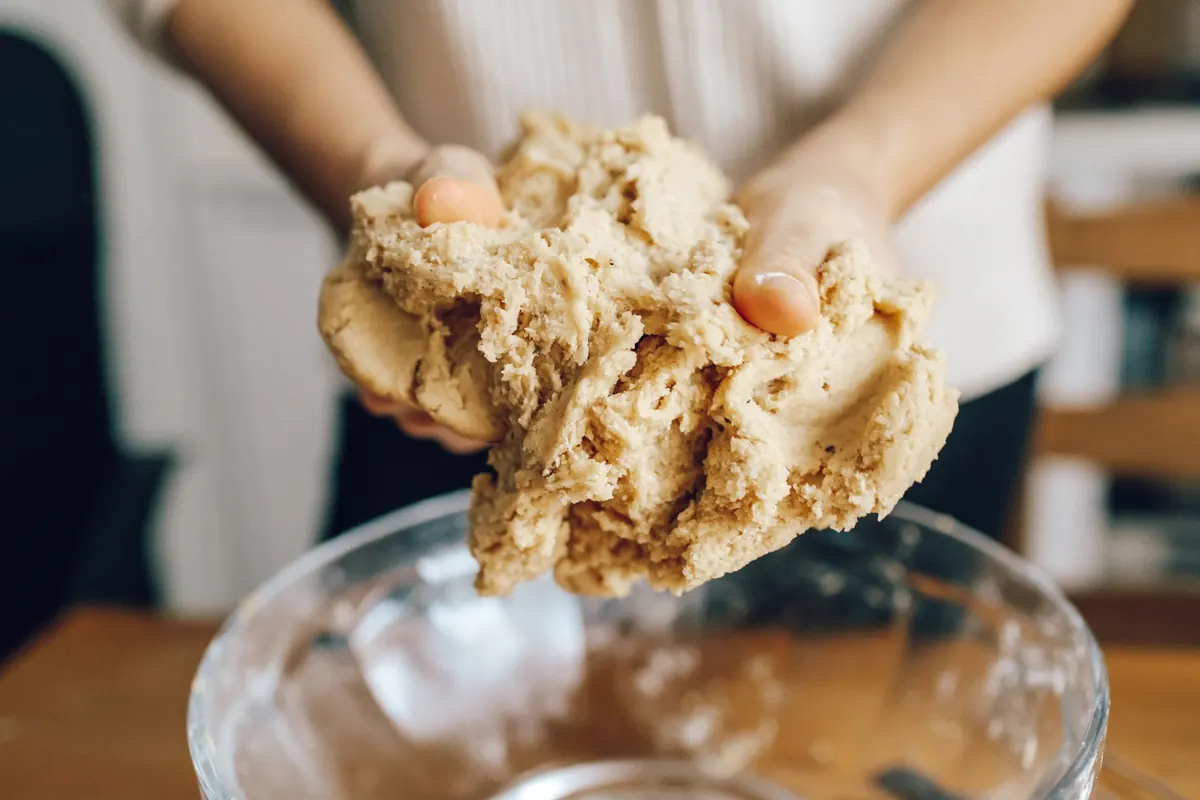
Scone dough should look shaggy and slightly unkempt — a mess that just barely holds together. If you knead it until smooth, you develop gluten, and gluten makes scones chewy and, counterintuitively, flat. A tight dough has less room to rise.
Fold instead. Turn the dough onto a lightly floured surface, pat it into a rough rectangle, fold it in thirds like a letter, pat again, and repeat once or twice more. That builds layers without toughness.
Also resist the urge to keep flouring the counter as you pat. Every extra tablespoon you work in steals moisture. Flour your hands and the bench at the start and then leave the bag alone.
The Liquid Balance Is Off
This is the most common cause of dry, crumbly scones, and it often starts before you pour anything. Scooping flour straight from the bag compacts it — you can easily end up with far more flour than the recipe intends. Spoon flour into the measuring cup and level it with a knife, or weigh it: a cup of all-purpose flour is about 125 grams.
Then add the liquid in stages rather than all at once. Most doughs need less than the printed amount on a dry day and more in humid weather. Aim for a dough that is shaggy and slightly tacky, one that holds when you squeeze a handful but still leaves a few dry crumbs in the bowl. If it's a wet, uniform mass, you've gone too far.
A quick texture test
Grab a small handful of dough and squeeze. If it crumbles apart, add cold liquid a teaspoon at a time. If it feels sticky and slack, sprinkle in flour a tablespoon at a time. Write down the amount that actually worked on your recipe card — that's the version that will work in your kitchen.
Flat Scones: Leavening, Cutting, and Oven Heat
If your scones rise an inch and then stop, work through this list before blaming yourself:
- Check the baking powder. It loses strength after a few months in a warm cupboard. Drop a pinch in hot water — if it doesn't fizz, replace it.
- Cut straight down. Twisting a round cutter seals the edges and pins the layers together, which stops the rise. Press down, lift up, don't rotate.
- Bake hotter than you think. Most scones want 400°F to 425°F (200°C to 220°C). A cool oven lets the butter melt slowly and the dough spread before it sets.
- Give them room. Two inches between scones on the tray. Crowded scones steam instead of browning.
- Use an oven thermometer. Plenty of home ovens run 25 to 50 degrees off the dial, and that alone will flatten a batch.
Crumbly Is Not the Same as Tender
Tender scones break apart gently under a little pressure. Crumbly ones disintegrate. The difference is usually flour, fat, and time in the oven.
Too much flour, too little butter, or too little liquid leaves the dough without enough structure to hold together. So does overbaking: scones go from done to dry in three or four minutes. Pull them when the tops are pale gold and the edges are set, and when a toothpick inserted in the center comes out with a few moist crumbs rather than clean.
Then get them off the pan. Two minutes on the hot tray is fine; longer and the bottoms steam. Leaving them in the switched-off oven to "stay warm" is the fastest way to turn a good batch into dry ones. Sugar matters too — a couple of tablespoons helps browning and tenderness, but a heavy hand makes them spread and then dry out.
Chill the Shaped Scones Before Baking
This is the simplest upgrade you can make. Shape the dough, cut it into wedges or rounds, and slide the whole tray into the freezer for fifteen to twenty minutes while the oven heats.
Cold dough holds its shape, hits the oven with the butter still solid, and rises higher before the structure sets. Right before baking, brush the tops with cream or milk and scatter on coarse sugar. The wash helps the crust brown, and the sugar gives you that crackly top that makes a scone worth eating plain.
One note on timing: don't leave them in the freezer indefinitely. Much past half an hour and the outside dries, which shows up as a tough shell later.
A Fast Diagnosis for Your Next Batch
Before you change three things at once, match the symptom to the likely cause:
- Dry and crumbly: too much flour, too little liquid, or a few minutes too long in the oven.
- Flat and spread: warm butter, tired baking powder, a cool oven, or a twisted cutter.
- Tough and chewy: too much kneading, or too little fat.
- Pale and bland: not enough fat or sugar, or an oven running below the dial setting.
Pick one suspect, change it, and bake again this week. Scones are quick enough that a second attempt costs you half an hour, and the batch you make after reading this will tell you more than any recipe note ever could. Eat them the day they're made — that's when the crust is crisp, the inside is tender, and nobody at the table is thinking about what went wrong last time.
Photo: Pexels / Pixabay